


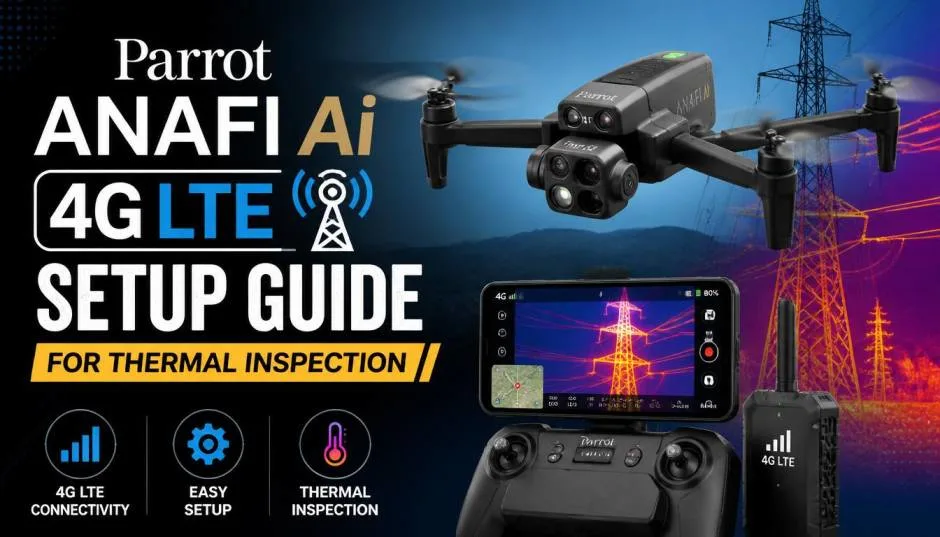
Parrot ANAFI Ai 4G LTE Setup Guide for Thermal Inspection
The Parrot ANAFI Ai 4G LTE Setup process isn’t complicated, but it has a few traps that can trip you up if you’re not careful. I learned this the hard way during my first field trial with the drone last year.
The manual tells you where the SIM slot is, but it doesn’t prepare you for the network hiccups or the data-plan confusion that can kill a mission before it starts. For thermal inspection work, where you’re often flying in remote industrial zones or dense urban canyons, getting the 4G link right is non-negotiable.
This guide cuts through the promotional noise and walks you through the actual setup steps that work, based on real flights and real mistakes.
Why 4G Matters for Thermal Inspection?
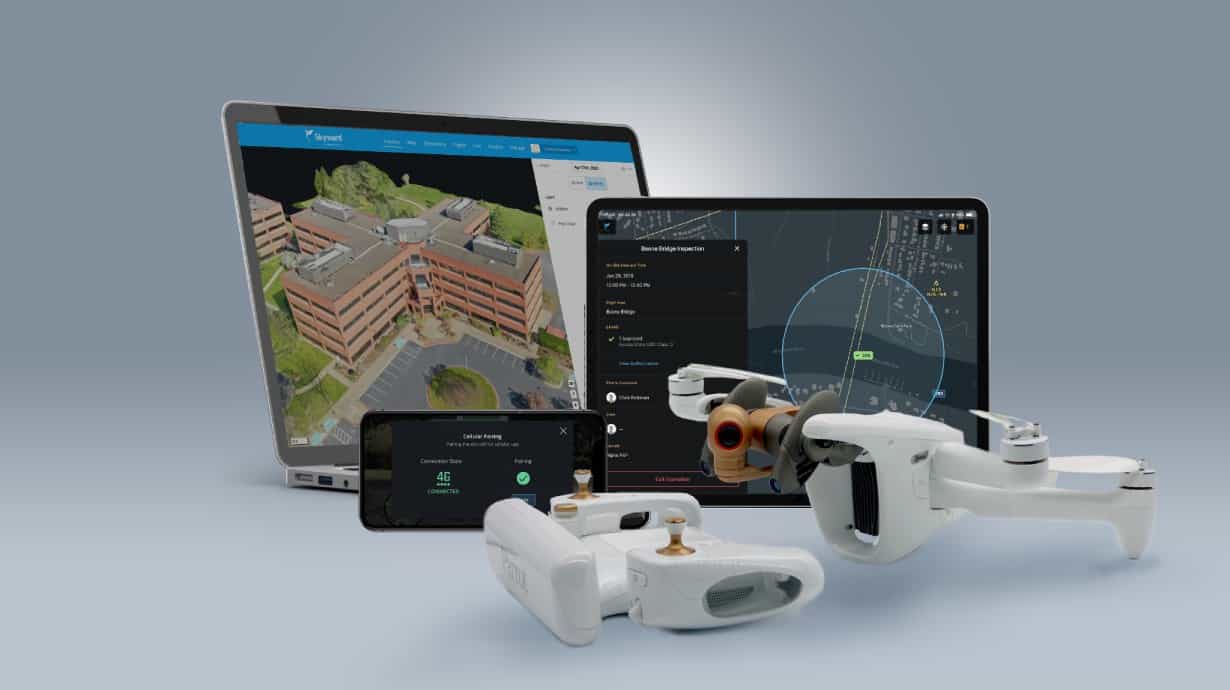
Thermal inspection isn’t like recreational flying. You’re hunting for hot spots on solar panels, checking for insulation gaps in building facades, or scanning power lines for overheating components.
Read Also: How to Install Free Flight Pro on Android 15 Apk?
These jobs often take you beyond visual line of sight (BVLOS) or into areas where Wi-Fi signals get crushed by interference. The ANAFI Ai’s built-in 4G module changes the game.
But here’s the catch: the 4G connection doesn’t just work out of the box. You have to set it up correctly, and you need to understand the costs and limitations before you take off.
What You Need Before Starting?
Gather these items before you touch the drone:
-
A nano SIM card with an active data plan. The drone uses a standard nano SIM.
-
The Parrot Skycontroller 4 remote.
-
The USB-C to Lightning (or USB-C) cable that came with the drone.
-
The FreeFlight 7 app installed and updated on your device.
One thing the marketing materials don’t emphasise enough: both the drone and the controller device need data connectivity for the 4G link to work.
Step 1: Insert the Nano SIM Card
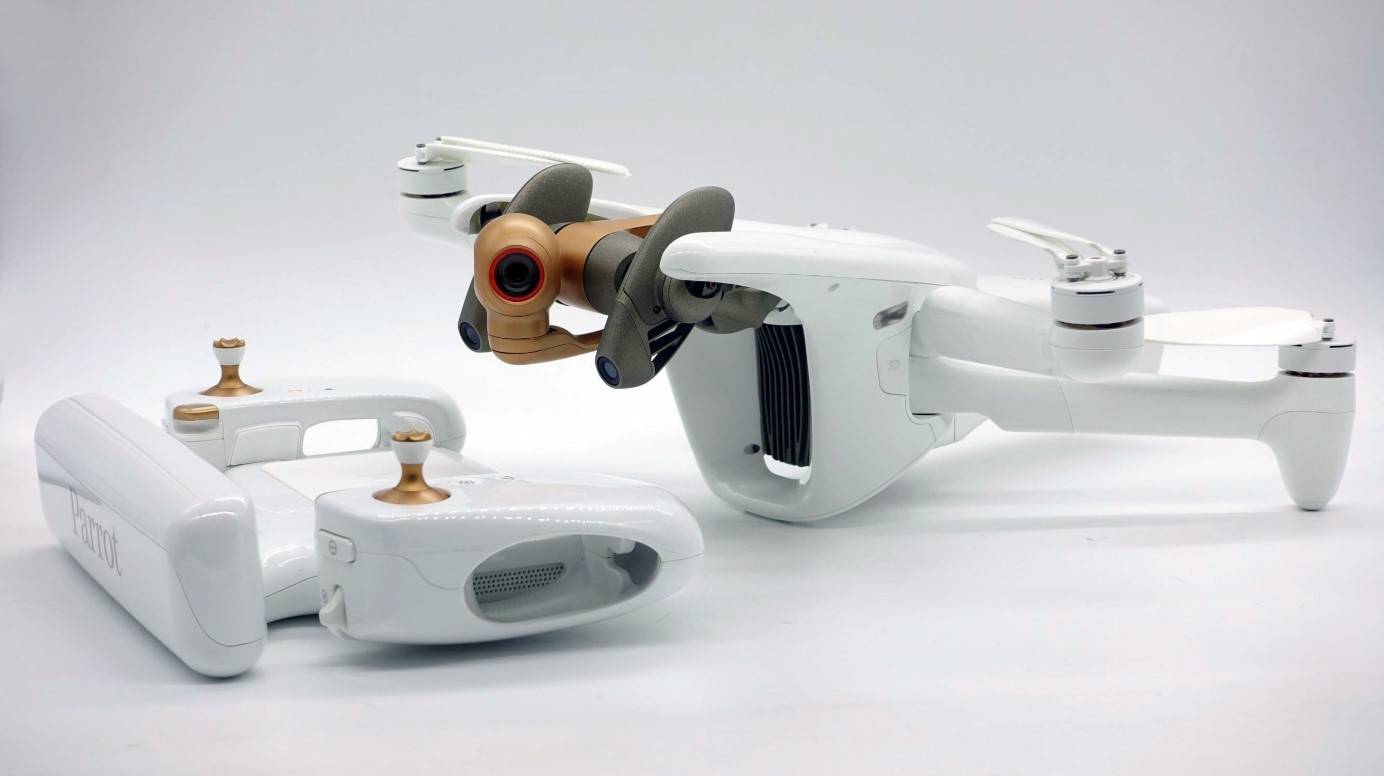
This sounds trivial, but I’ve seen people get it wrong. The nano SIM slot sits on the right-hand side of the drone, under a small cover marked “4G”.
You Must Also Like: 4 Best Parrot ANAFI Thermal Drones for 2026: Why Professionals Are Switching?
To install:
-
Lift the 4G cover gently—it’s hinged, so don’t force it.
-
Insert the nano SIM card straight into the slot, shortest side first.
-
Make sure the connectors face the back of the drone.
The user manual has a diagram inside the 4G cover itself, which is a nice touch if you forget the orientation. To remove the card, just press it in and it pops out.
Important: The drone supports most 4G LTE providers worldwide. Parrot claims the module covers more than 98% of frequencies used globally. I’ve tested it with networks in Europe and North America without issues.
Step 2: Activate the SIM Card in FreeFlight 7
With the SIM inserted, power on the full ecosystem: drone, Skycontroller 4, and your mobile device with FreeFlight 7 running.
Here’s the activation flow:
-
In FreeFlight 7, go to the ANAFI Ai dashboard.
-
Tap the Cellular access tile.
-
If your SIM has a PIN, enter it and tap Ok.
Parrot recommends creating a Parrot.CLOUD account, but it’s not mandatory for basic 4G functionality.
The app should now show a 4G connection status. If it doesn’t, check these common culprits:
-
No SIM card inserted.
-
SIM card PIN not entered.
-
4G connectivity not activated in the app settings.
-
Your mobile device has no internet access.
Step 3: Configure Connection Priorities
The ANAFI Ai can switch between Wi-Fi and 4G automatically, but you can override this behaviour. Go to Settings > Advanced > Connection in FreeFlight 7.
You’ll see three options:
| Setting | What It Does |
|---|---|
| Auto (default) | The drone manages the connection, choosing whatever signal is stronger. |
| 4G priority | The drone relies on 4G as long as it’s available, falling back to Wi-Fi only if the cellular signal drops. |
| Wi-Fi priority | The opposite—sticks to Wi-Fi unless it fails. |
For thermal inspection, I usually set 4G priority before a mission. This forces the drone to use the cellular link, which is more reliable in urban or industrial environments.
The manual suggests temporarily switching to 4G priority to test your signal strength before flight, then reverting to Auto for take-off.
One thing to remember: 4G data usage incurs charges based on your SIM’s data plan. If you’re streaming 1080p video for an hour-long inspection, you’ll burn through data. I recommend an unlimited or high-capacity plan if you’re doing this professionally.
Step 4: Connect the Mobile Device
This is where the setup gets a little nuanced. There are two ways to connect your mobile device to the Skycontroller 4, depending on whether your device has its own data plan.
Option A: Device with its own data SIM
-
Plug your phone or tablet into the Skycontroller 4 using the USB-C cable.
-
Make sure mobile data is activated and Wi-Fi is turned off on your device.
-
Turn on the Skycontroller and launch FreeFlight 7.
-
The app will configure the 4G link automatically.
Option B: Wi-Fi-only device (no cellular modem)
-
Connect your device to a Wi-Fi hotspot—this could be a phone with mobile hotspot enabled, or a portable router.
-
Plug the device into the Skycontroller 4.
-
Launch FreeFlight 7.
-
The 4G communication will establish through the hotspot connection.
I’ve used both methods. Option A is simpler and more reliable. Option B works, but you’re introducing another point of failure—if the hotspot drops, you lose the link.
Anafi AI User Manual: What to Expect?
I took the ANAFI Ai out for a series of thermal inspection tests in a mixed urban-industrial area. The goal was to scan rooftop solar arrays and check for hot spots. Here’s what I observed.
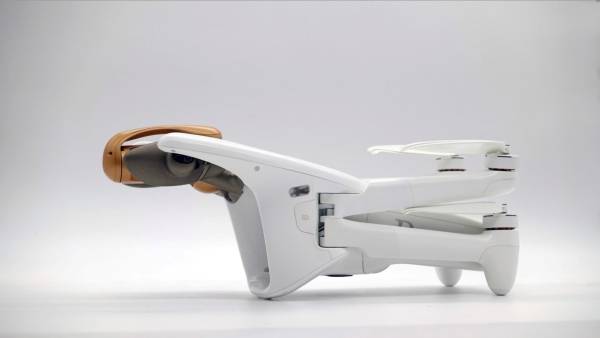
Signal stability: The 4G link held steady even when I flew behind a five-storey building.
Range: With 4G coverage, the only limit was the battery. I pushed out to 1.7 kilometres in one test, and the control response stayed crisp. The drone’s Smart RTH kicked in when battery hit 35%, bringing it back without drama.
Thermal imaging: The ANAFI Ai itself isn’t a thermal drone—it’s the ANAFI USA or ANAFI Thermal variants that carry the FLIR sensor. The Ai model has a 48MP Quad Bayer camera with 4K/60fps video and 6x digital zoom.
For pure thermal work, you’d want the ANAFI USA Thermal, which pairs the 4G capabilities with a FLIR Boson 320 sensor. The Ai’s camera is excellent for visual inspection—you can spot 1cm details from 75 metres away—but it doesn’t do thermal on its own.
Battery life: Parrot claims 32 minutes of flight time. In practice, with 4G active and the camera running, I got around 28 minutes before the low-battery warning. That’s respectable for a drone in this class.
Common Setup Problems and Fixes
Problem: No 4G connection showing in FreeFlight 7
-
Check that the SIM card is inserted correctly.
-
Verify that the SIM has an active data plan.
-
Ensure you’ve entered the SIM PIN if required.
-
Confirm that Cellular access is toggled on in the app settings.
Problem: “Cannot enter PIN” message
-
Some SIMs are locked and don’t accept PIN entry through the app. Try inserting the SIM into a phone first, disable the PIN lock, then reinsert it into the drone.
Problem: 4G connects but video is choppy
-
Check your mobile device’s data speed. The drone’s 4G link is only as good as the network coverage in your area.
-
Try switching to Wi-Fi priority temporarily to see if the issue is network-specific.
Problem: The app says “No internet access” on the device
-
Make sure your phone or tablet has mobile data enabled (Option A) or is connected to a working hotspot (Option B).
Who Should Buy This (and Who Shouldn’t)?
Best for:
-
Industrial inspectors who need BVLOS capability for power lines, pipelines, or large infrastructure.
-
Surveying and mapping professionals who benefit from autonomous photogrammetry and 4G data upload.
-
Public safety teams requiring reliable long-range video transmission.
-
Enterprise users already subscribed to Skyward, as the 4G integration is seamless.
Not ideal for:
-
Hobbyists or casual flyers who don’t need beyond-line-of-sight range.
-
Budget-conscious buyers—the ANAFI Ai is priced around $4,000, and battery replacements cost about $480 per pack.
-
Those needing native thermal imaging—look at the ANAFI USA Thermal instead.
-
Operators in countries with 4G drone restrictions—some regions prohibit drone connections to cellular networks. Check local regulations first.
Final Thoughts
The Parrot ANAFI Ai 4G LTE Setup process is straightforward once you understand the dual-SIM requirement and the priority settings. The drone delivers on its promise of unlimited range and stable video transmission, but it’s a professional tool with professional costs.
For thermal inspection work, pair it with the right sensor—the ANAFI USA Thermal variant—and you have a capable platform for demanding missions.
My advice: test your 4G setup in a controlled environment before your first paying job. Fly a few practice missions, monitor your data usage, and get comfortable with the connection settings. The drone performs reliably, but the cellular network is outside your control. Know your coverage area, carry a backup plan (Wi-Fi fallback), and always keep the battery cycle in mind.
Parrot ANAFI Ai 4G LTE Setup doesn’t have to be a headache. Follow these steps, learn from the real-world observations here, and you’ll be airborne with a solid connection, ready for whatever your inspection task throws at you.